
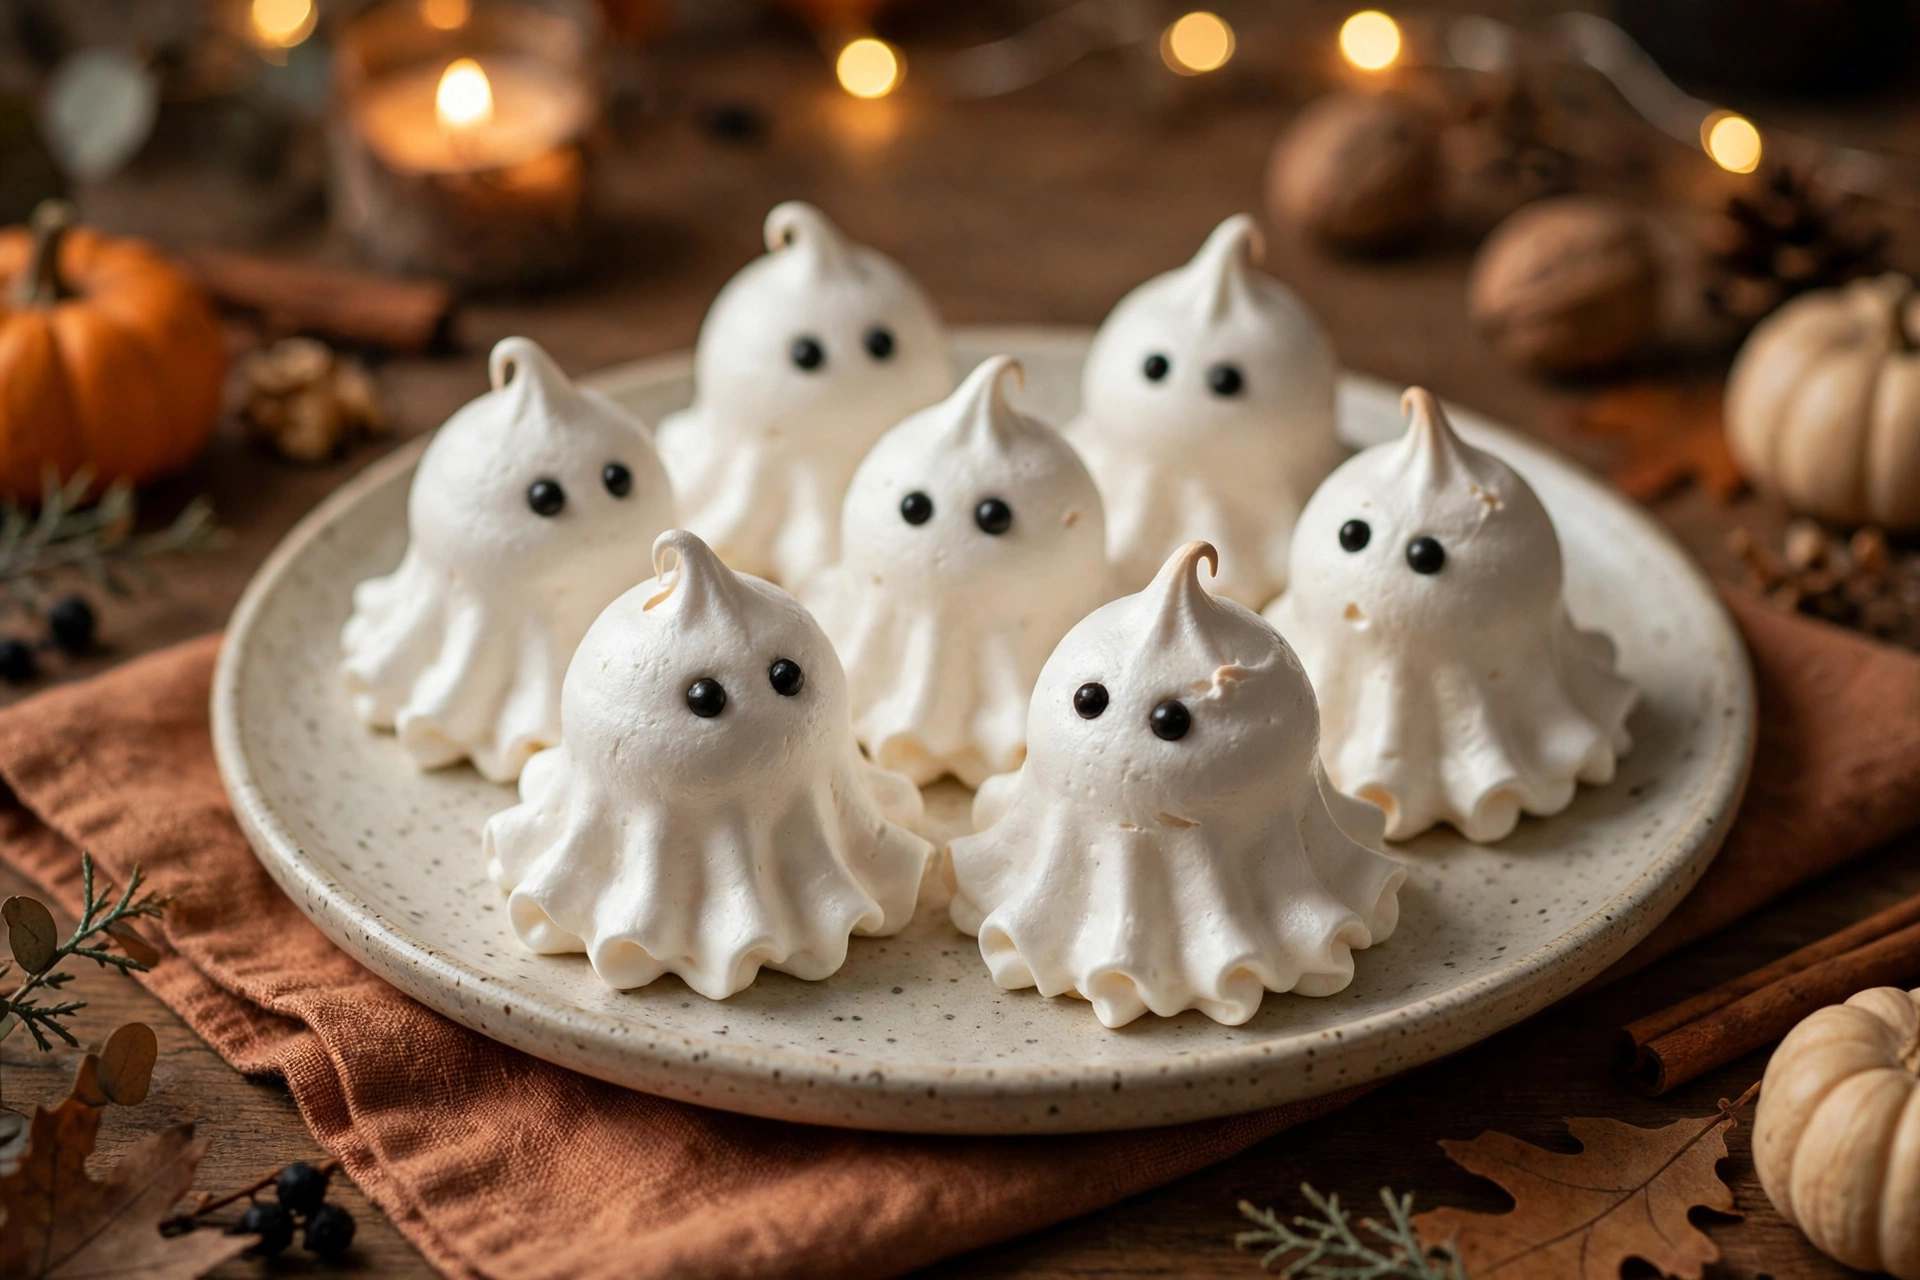
Ghost meringue cookies are the Halloween showstopper that looks far more difficult than it is. These crisp, cloud-light little spirits are piped from a simple glossy meringue, baked low and slow until they are snowy white and delicately crunchy, then given the cutest little faces with candy eyes. They taste like sweet vanilla air light, airy and melt-in-the-mouth — and they are naturally gluten-free and dairy-free, which makes them a brilliant option when the trick-or-treat crowd has mixed dietary needs. Whether you are hosting a Halloween party, filling treat bags, or simply want a baking project with serious wow factor, this ghost meringue cookies recipe delivers spooky-cute results with just five everyday ingredients and one piping bag.
There is something quietly magical about a cookie made from almost nothing. Egg whites and sugar, whisked with air and patience, transform into two dozen crisp ghosts that shatter delicately and dissolve on the tongue. Unlike the butter-heavy biscuits and chocolate bars that dominate Halloween, ghost meringue cookies are feather-light the kind of sweet that guests nibble between richer treats and children adore for their cartoon-spooky faces. They contain no flour, no butter and no oil, which means they sidestep the most common allergens without any special substitutions or expensive alternative ingredients.
Also Read : Mummy Brownies : Easy Halloween Brownie Treats with Candy Eyes
This guide covers every detail for flawless ghost meringue cookies: the science behind the five ingredients, the equipment that makes life easier, a step-by-step method with exact temperatures and timings, piping techniques for characterful ghosts, low-and-slow drying for a snowy-white finish, decorating ideas, storage advice, flavour variations, serving suggestions and solutions to the most common meringue mishaps. At the end there is a printable recipe card and answers to the most frequently asked questions. Read the guide through once, and the next batch will feel like second nature.
Table of Contents
Why Ghost Meringue Cookies Deserve a Spot on Your Halloween Table
Halloween baking usually falls into two camps: the elaborate showpieces that consume an entire weekend, and the quick treats that look hastily made. Ghost meringue cookies sit happily between the two. The hands-on time is about twenty-five minutes — most of it spent whipping and piping — and then the oven takes over for ninety minutes while the pumpkins are carved and the decorations are hung. The result is a platter of pristine white ghosts that photograph beautifully and vanish quickly: the rare Halloween sweet that adults reach for just as eagerly as children.
They are also one of the most forgiving introductions to meringue baking. Unlike a pavlova, there is no billowy centre threatening to collapse; unlike macarons, there is no folding technique to master and no resting time to judge. The ghost shape is deliberately rustic — a tall swirl with a rounded top reads as a ghost whether it is perfectly symmetrical or charmingly lopsided. In fact, the slightly irregular ghosts tend to have the most personality, and a whole haunted crowd of them looks better for the variety. For nervous bakers that is liberating; for confident bakers, the recipe is a blank canvas for flavours, colours and decorations.
On a practical level, ghost meringue cookies solve several Halloween headaches at once. They are light, so they balance the rich, buttery and chocolatey food that dominates party tables. Once fully dried they are sturdy enough to travel in treat bags and lunchboxes without crumbling. A single batch makes about two dozen ghosts — plenty for a classroom party or a street’s worth of trick-or-treaters — and stored properly they keep their crunch for up to three weeks, so there is no last-minute rush during a busy Halloween week.
Ingredients for Ghost Meringue Cookies
Just five ingredients make the meringue, plus something for the faces. Meringue is chemistry as much as cookery, so measure carefully, keep the equipment scrupulously clean and bring the egg whites to room temperature before beginning.
For the meringue
- 4 large egg whites, at room temperature (about 120 g)
- 200 g caster sugar (1 cup)
- 1/4 teaspoon cream of tartar
- 1 teaspoon vanilla extract — clear if possible
- 1 pinch of fine sea salt
For decorating
- About 48 small candy eyes (2 per ghost), or black icing pens for drawing faces
- 1 tablespoon melted white chocolate or royal icing, to attach the eyes (optional)
A note on each ingredient
Egg whites. Room-temperature whites whip to a greater volume than cold ones, so separate the eggs up to an hour ahead — or rest the bowl of whites in warm water for ten minutes. Separate very carefully, one egg at a time into a small cup before tipping it into the mixing bowl: even a trace of yolk, with its fat, can prevent the whites from whipping properly. If a yolk breaks, start that egg again rather than fishing out fragments with your fingers, which only introduces more grease.
Caster sugar. The fine crystals of caster sugar dissolve far faster than granulated sugar, which is exactly what meringue needs — undissolved sugar makes weepy, grainy ghosts with sticky beads on the surface. Add it gradually, a spoonful at a time, giving each addition time to dissolve before the next goes in. If only granulated sugar is available, pulse it briefly in a food processor to make it finer before starting; do not use icing sugar, which contains cornflour and changes the texture.
Cream of tartar. This acidic powder stabilises the whipped whites, helping them hold their tall ghostly swirls in the oven’s gentle heat and resisting weeping during the long drying time. It is inexpensive and keeps for years in the cupboard. If none is to hand, substitute half a teaspoon of lemon juice or white vinegar, or simply leave it out — the meringue will still work, just with slightly less insurance against collapse.
Vanilla and salt. Vanilla gives the ghosts their classic sweet bakery flavour; clear vanilla keeps them bright white, while standard extract adds the faintest warm tint that most people never notice. The tiny pinch of salt sharpens the sweetness so the cookies taste balanced rather than flat — a small addition with an outsized effect on the finished flavour.
Must Read: Light Jello Dessert Recipe (Low-Calorie Berry Treat)
Equipment You Will Need
- A stand mixer with a whisk attachment, or an electric hand mixer and a large bowl
- Two large baking trays lined with parchment paper or silicone baking mats
- A large piping bag fitted with a large round tip (such as a 1A or 2A, about 1.25 cm wide)
- A clean, grease-free mixing bowl — glass or metal rather than plastic
- White vinegar or lemon juice and a paper towel, for wiping the bowl and whisk
A stand mixer makes the long whipping stage effortless, but a hand mixer works perfectly well — it simply needs a few minutes more of patient beating. The most critical piece of equipment is actually the bowl: any trace of grease sabotages the meringue, which is why glass or metal is preferred over plastic (plastic can harbour residual oils even after thorough washing). The large round piping tip is what gives the ghosts their smooth, rounded bodies; a star tip would produce ridged ghosts, which look less convincingly spectral, though they are still delicious.

How to Make Ghost Meringue Cookies, Step by Step
Read through the method once before starting — meringue rewards calm, unhurried preparation. The process breaks down into four stages: whipping, piping, drying and decorating.
- Heat the oven and prepare the trays. Position two racks in the upper and lower thirds of the oven and heat to 100°C (80°C fan / 200°F). Line two large baking trays with parchment paper or silicone mats. The ghosts are piped freehand, so there is no need to draw guides on the paper.
- Make everything spotlessly clean. Wipe the mixing bowl, the whisk and a spatula with white vinegar or lemon juice on a paper towel, then dry thoroughly. Any grease — from butter, yolk or even fingertips — will stop the whites reaching full volume, and no amount of extra whipping will fix it afterwards.
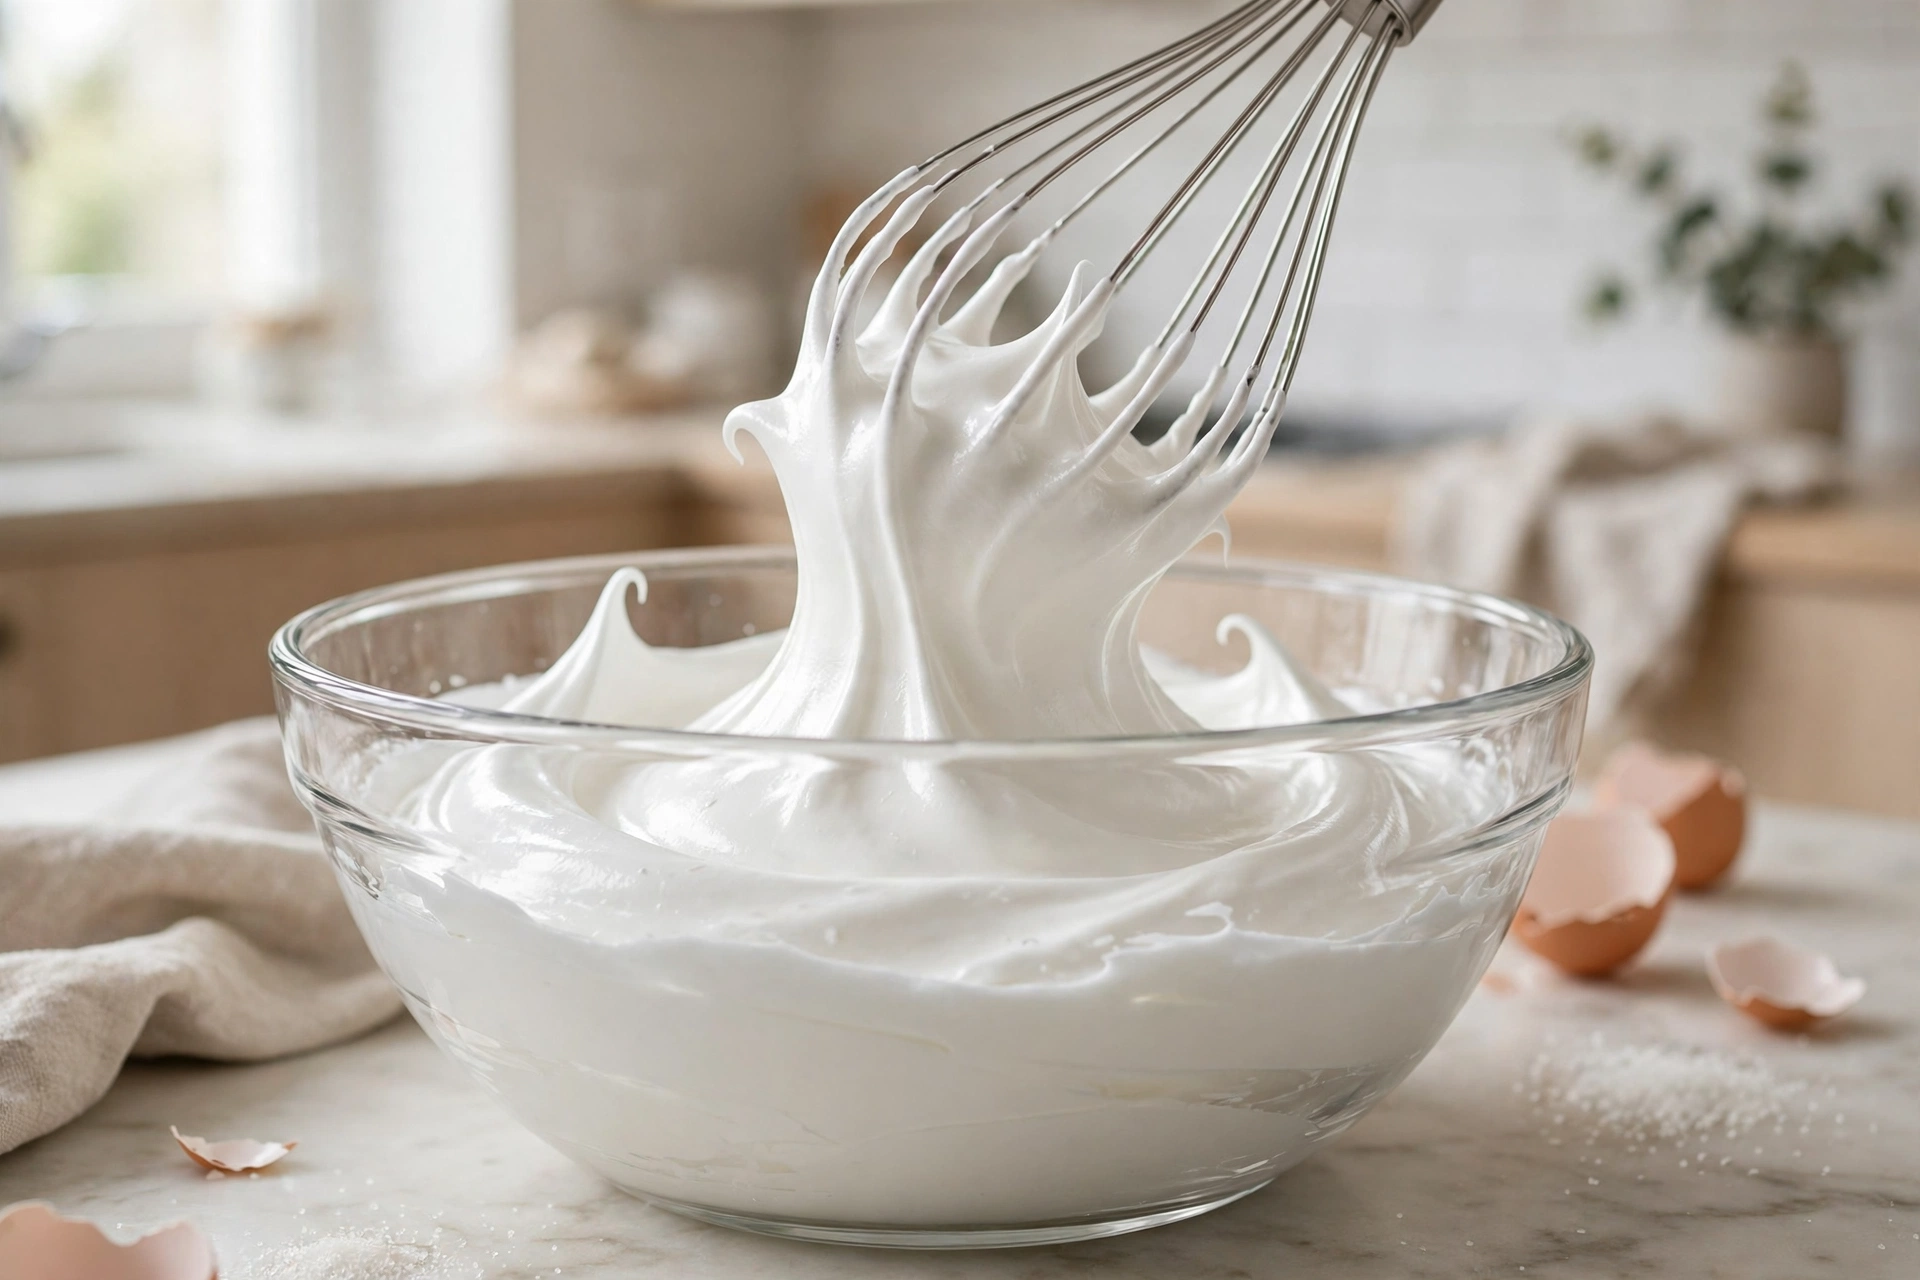
- Start whipping the egg whites. Add the room-temperature whites, the salt and the cream of tartar to the bowl. Whip on medium speed until foamy and opaque, then increase to medium-high and continue to soft peaks — the stage where the whisk leaves visible trails in the foam and a lifted peak flops over gently instead of standing up.
- Add the sugar slowly. With the mixer running on medium-high, add the caster sugar one tablespoon at a time, waiting about twenty seconds between additions. This slow addition is the single most important step in the recipe: it lets each spoonful dissolve fully into the foam, which is what creates a stable, glossy meringue rather than a grainy one that weeps in the oven.
- Whip to stiff, glossy peaks. Once all the sugar is incorporated, increase to high speed and whip for three to five minutes, until the meringue is thick, brilliantly glossy and holds a firm peak that stands straight up when the whisk is lifted. Rub a little between your fingertips — it should feel completely smooth, with no trace of grit. If it feels grainy, keep whipping; the sugar simply needs more time to dissolve.
- Add the vanilla. Drizzle in the vanilla extract and whip for just ten more seconds to combine. Avoid over-mixing at this stage, which can begin to deflate the carefully built foam and make the ghosts denser.
- Fill the piping bag. Fit the piping bag with the large round tip, then fold the top third of the bag down over your hand like a cuff. Spoon in the meringue, filling the bag about two-thirds full — overfilling makes it hard to control and risks meringue escaping from the top. Twist the top closed to seal it.
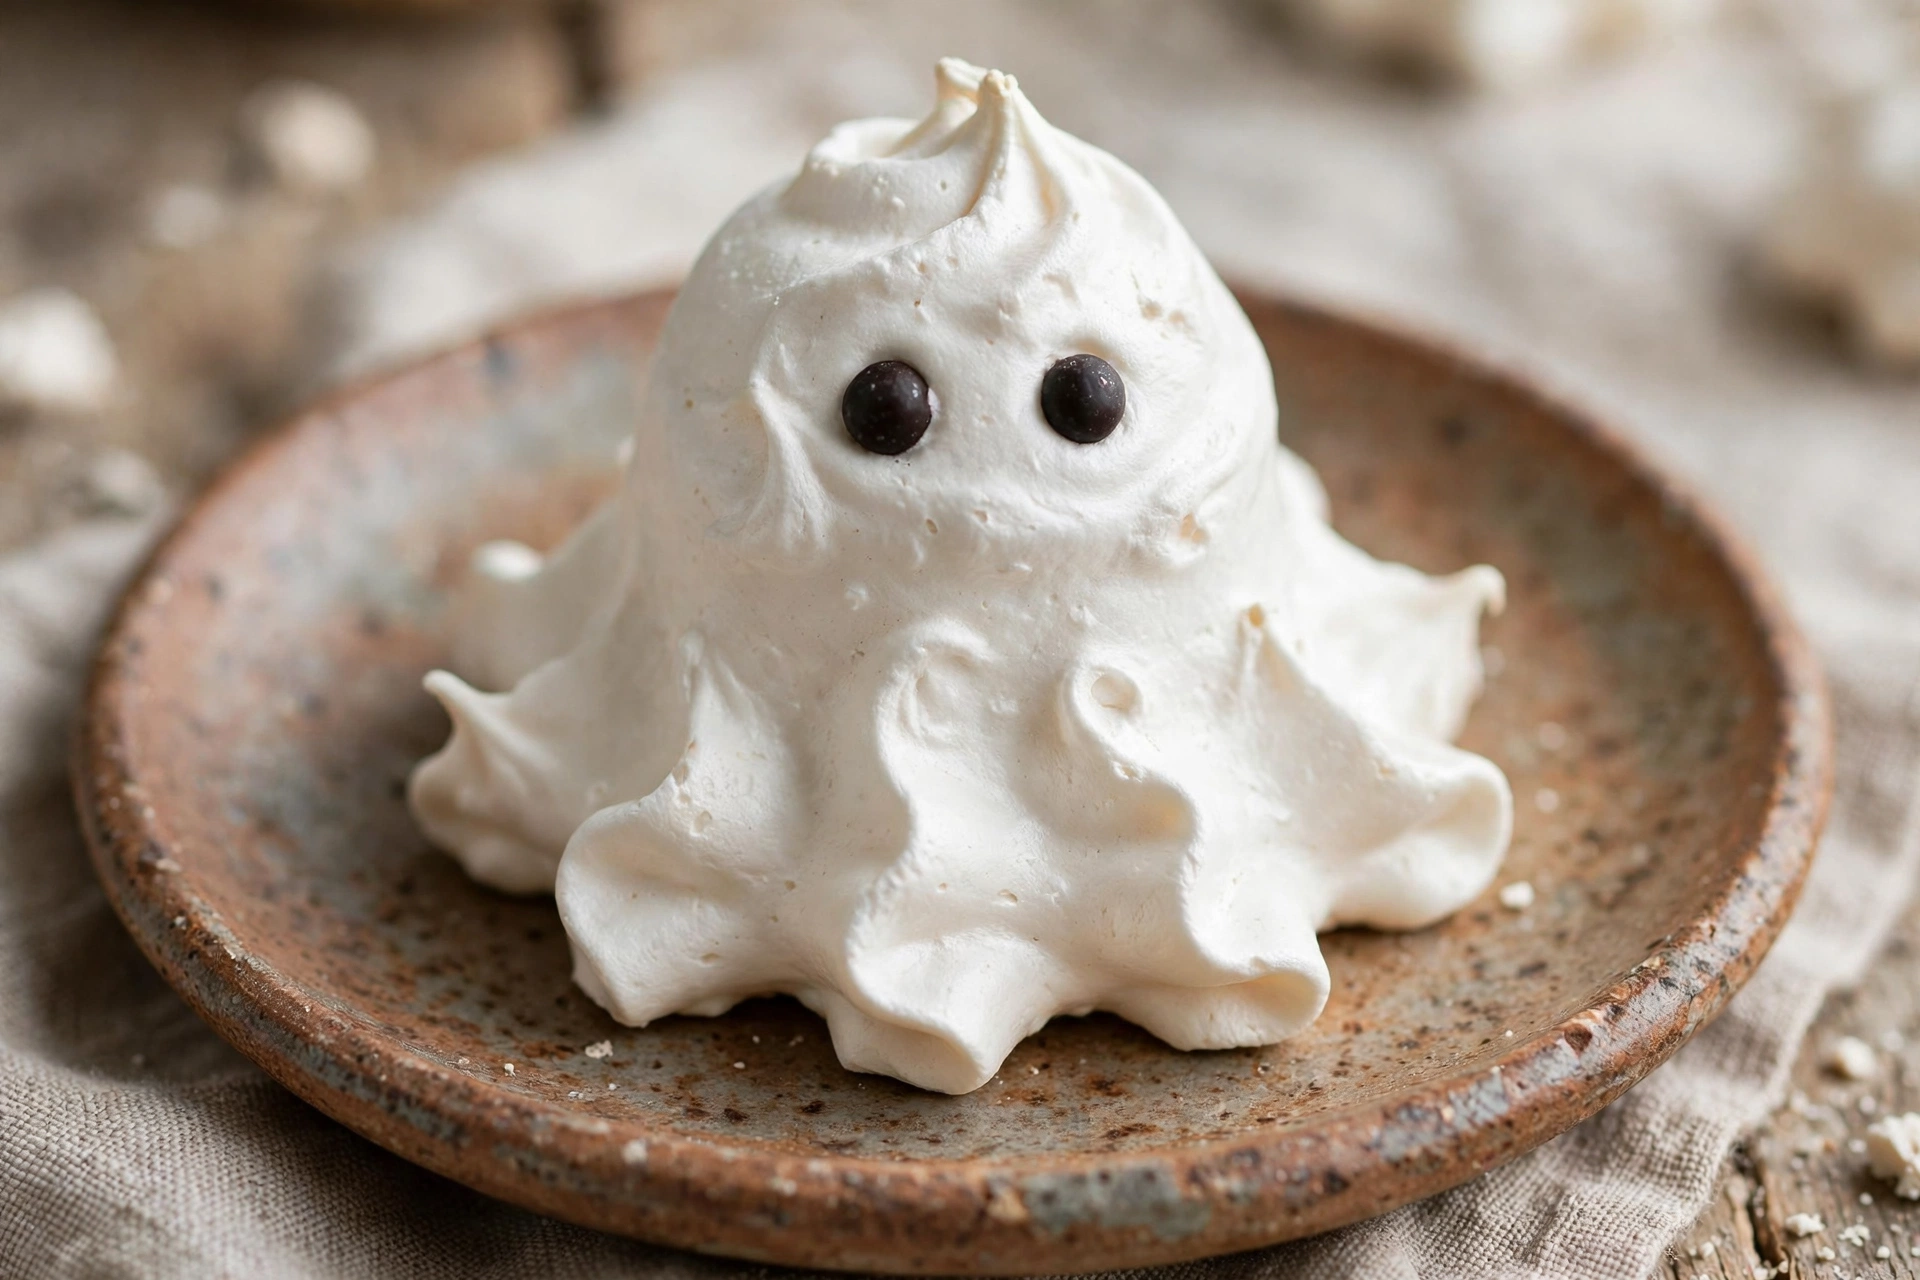
- Pipe the ghosts. Hold the bag vertically, about 1 cm above the lined tray, and squeeze steadily without moving until a base about 4 cm wide forms. Keeping the pressure constant, slowly lift the bag straight up to build a tall swirl about 6–7 cm high, then release the pressure and flick the tip away quickly to avoid a bent peak. Repeat, spacing the ghosts about 3 cm apart so the air can circulate. The batch should yield about 24 ghosts across the two trays.
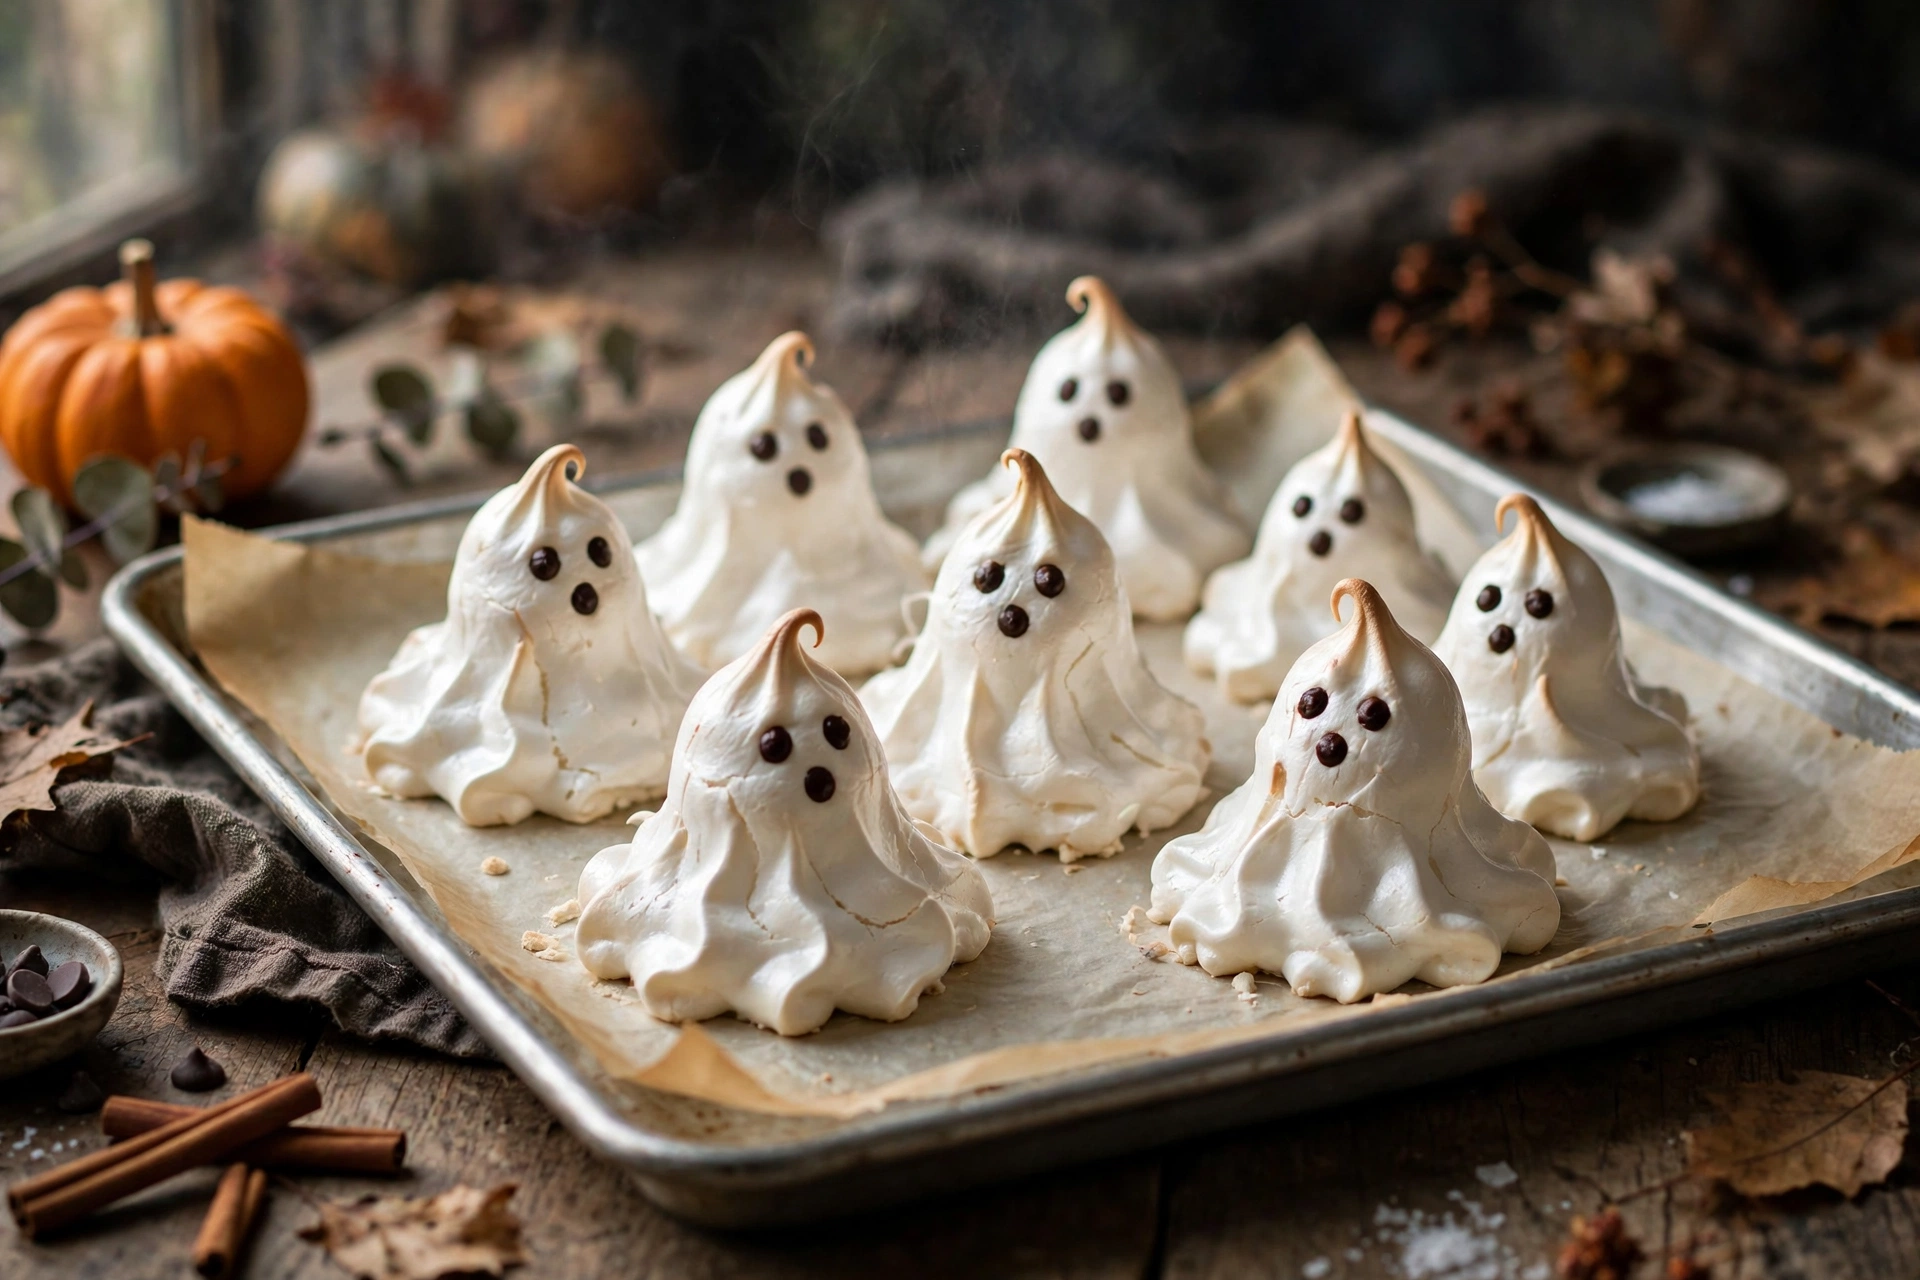
- Bake low and slow, then cool in the oven. Bake for 90 minutes, rotating the trays halfway through, until the ghosts feel dry to the touch and lift easily off the paper. Turn the oven off, crack the door open slightly, and leave the ghosts inside for at least one hour — ideally two — to cool and dry completely. They are done when they feel feather-light and sound faintly hollow when tapped underneath.
- Add the faces. Once completely cool, attach two candy eyes to each ghost with the tiniest dot of melted white chocolate or royal icing — or simply press the eyes gently into the meringue, which will grip on its own while the surface is fresh. Alternatively, draw faces with a black icing pen and let the ink set for ten minutes before handling.
Piping Tips for Perfect Little Ghosts
The piping is the part everyone worries about and nobody needs to. Ghosts are supposed to look handmade — a wobble here or a lean there only adds character, and a whole crowd of slightly different ghosts looks far more charming than a row of identical ones. That said, a few points of technique make the difference between ghosts that slump and ghosts that stand tall and proud.
First, keep the bag vertical. Tilting the bag is the most common cause of leaning ghosts; hold it at ninety degrees to the tray and lift straight up as you squeeze, letting the meringue stack on itself. Second, use steady, even pressure rather than pulsing — pulsing creates ridged segments instead of a smooth, flowing body. If your hand tires, rest the bag on the edge of the tray and continue; a brief pause will not harm the meringue, which holds its structure well at room temperature.
Third, mind the finish. The classic ghost has a softly rounded top, achieved by releasing the pressure just before you stop lifting, then flicking the tip sideways quickly. Lifting the tip away while still squeezing produces a sharp peak — charming in its own way, but more wizard hat than ghost. Any tiny peak that does form can be smoothed with a lightly dampened fingertip before the tray goes into the oven.
Finally, work at a comfortable pace and refill the bag when it starts to feel awkward rather than fighting the last spoonfuls. Meringue waits patiently at room temperature for fifteen to twenty minutes, so there is no need to rush the tray. If a ghost truly misbehaves, scrape it back into the bowl, give the meringue a brief re-whip and pipe it again — the mixture is remarkably forgiving, and nobody will ever know.
Baking and Drying Tips for Crisp, Snow-White Ghosts
Meringue ghosts are dried more than baked, and the gentle heat is what keeps them brilliantly white. An oven thermometer is worth its weight here: many domestic ovens run hotter than their dials claim, and even 120°C will tint the ghosts cream or gold. If the oven runs warm, prop the door open a crack with the handle of a wooden spoon for the entire drying time to let the excess heat escape.
Humidity is the arch-enemy of crisp meringue. Sugar attracts moisture from the air, so on a damp or rainy day the ghosts may need an extra thirty to forty-five minutes in the oven, plus a longer rest in the turned-off oven afterwards. Choose a dry day for baking if possible, and avoid piping meringue while something is boiling vigorously on the hob — steam in the kitchen air works directly against a crisp finish.
Do not open the oven door during the first hour. The rush of cool air can cause the ghosts to crack or sink slightly just as their structure is setting. After ninety minutes, test one ghost: it should lift cleanly off the parchment and feel completely dry and light in the hand. If the base still feels tacky, return the tray for another fifteen minutes before testing again.
The slow cool-down in the turned-off oven is not optional it finishes drying the centres gently and prevents the cracking that comes from sudden temperature changes. Think of it as part of the baking time rather than an afterthought. The ghosts are fully done when they sound faintly hollow when tapped underneath and feel as light as air. Rushing this stage is the most common reason for sticky centres.
Read Also : Easy Peach Cobbler Recipe (Juicy, Golden, Foolproof)
Decorating Your Ghost Meringue Cookies
Once the ghosts are completely cool, the fun begins. Candy eyes are the classic choice and take seconds to apply: a minuscule dot of melted white chocolate or royal icing on the back of each eye acts as glue, though on a fresh, dry ghost the eyes will often grip with gentle pressure alone. Position them while looking at the ghost face-on, spacing the two eyes slightly wide for maximum cuteness.
For different expressions, vary the placement — eyes close together look surprised, while one eye slightly higher than the other looks mischievous. Black icing pens or food-safe markers offer even more control: draw oval eyes, tiny open mouths or rosy cheeks with a pink edible marker. Let any icing dry for ten minutes before stacking or packing the ghosts so the designs do not smudge.
Keep decorations light. Heavy flooding icing or thick chocolate coatings add moisture, which is the enemy of crispness. A thin drizzle of dark chocolate over the base of each ghost, however, sets into a delicious contrast and stays put — dip just the bottoms and stand the ghosts upright on parchment until set. A dusting of edible glitter adds a magical shimmer for party platters.

How to Store Ghost Meringue Cookies
Stored correctly, ghost meringue cookies keep their shattering crispness for up to three weeks — which makes them one of the very best make-ahead Halloween treats. The rules are simple: airtight, cool, dry and undisturbed. Layer the ghosts in a rigid container with sheets of parchment between the layers so the delicate swirls do not get crushed, and choose a container that is not much larger than the ghosts themselves to minimise the air trapped inside.
Keep the container at room temperature, away from the cooker, dishwasher or any other source of steam. The refrigerator is the worst possible place for meringue: the humid air softens the crisp shells within hours and there is no coming back from it. If the ghosts do pick up a little moisture and turn slightly chewy, they can often be rescued with twenty minutes in a 100°C oven, followed by a full cool-down in the turned-off oven.
For gifting or treat bags, wait until the ghosts are completely cool and the decorations fully set, then tuck them into cellophane bags tied with ribbon. They travel remarkably well thanks to their light weight — just handle the bags gently and advise recipients that the ghosts are fragile and at their best within a couple of weeks for maximum crunch.
Fun Variations to Try
Once the basic technique is mastered, ghost meringue cookies become a template for endless Halloween creativity. The meringue accepts flavourings and colours gracefully, provided additions are folded in gently at the very end of whipping so the foam is not deflated.
Chocolate-dipped ghosts
Dip the base of each cooled ghost in melted dark or white chocolate and stand upright on parchment to set. The chocolate adds a satisfying snap and a flavour contrast that keeps people reaching for just one more. For a spookier look, drizzle the chocolate over the tops instead so it runs down like a cloak.
Peppermint ghosts
Add a quarter teaspoon of peppermint extract along with the vanilla for a cool, fresh flavour that pairs beautifully with the sweetness. A drop of black gel colour swirled — not mixed — through the meringue in the piping bag creates marbled grey ghosts with real haunted-house atmosphere.
Spiced autumn ghosts
Fold half a teaspoon of ground cinnamon and a pinch of nutmeg through the finished meringue for ghosts that taste like autumn in cookie form. The spice tints them the palest beige, which reads as vintage and charming against dark Halloween decorations. A tiny pinch of ground cloves deepens the flavour further.
Mini ghost bites
Pipe the ghosts half-size — about 3 cm tall — and reduce the drying time to around sixty minutes. The batch will yield about four dozen tiny ghosts, perfect for scattering over ice cream sundaes, floating on hot chocolate or layering into a Halloween trifle with whipped cream and crushed biscuits.
Serving Ideas for a Spooky Spread
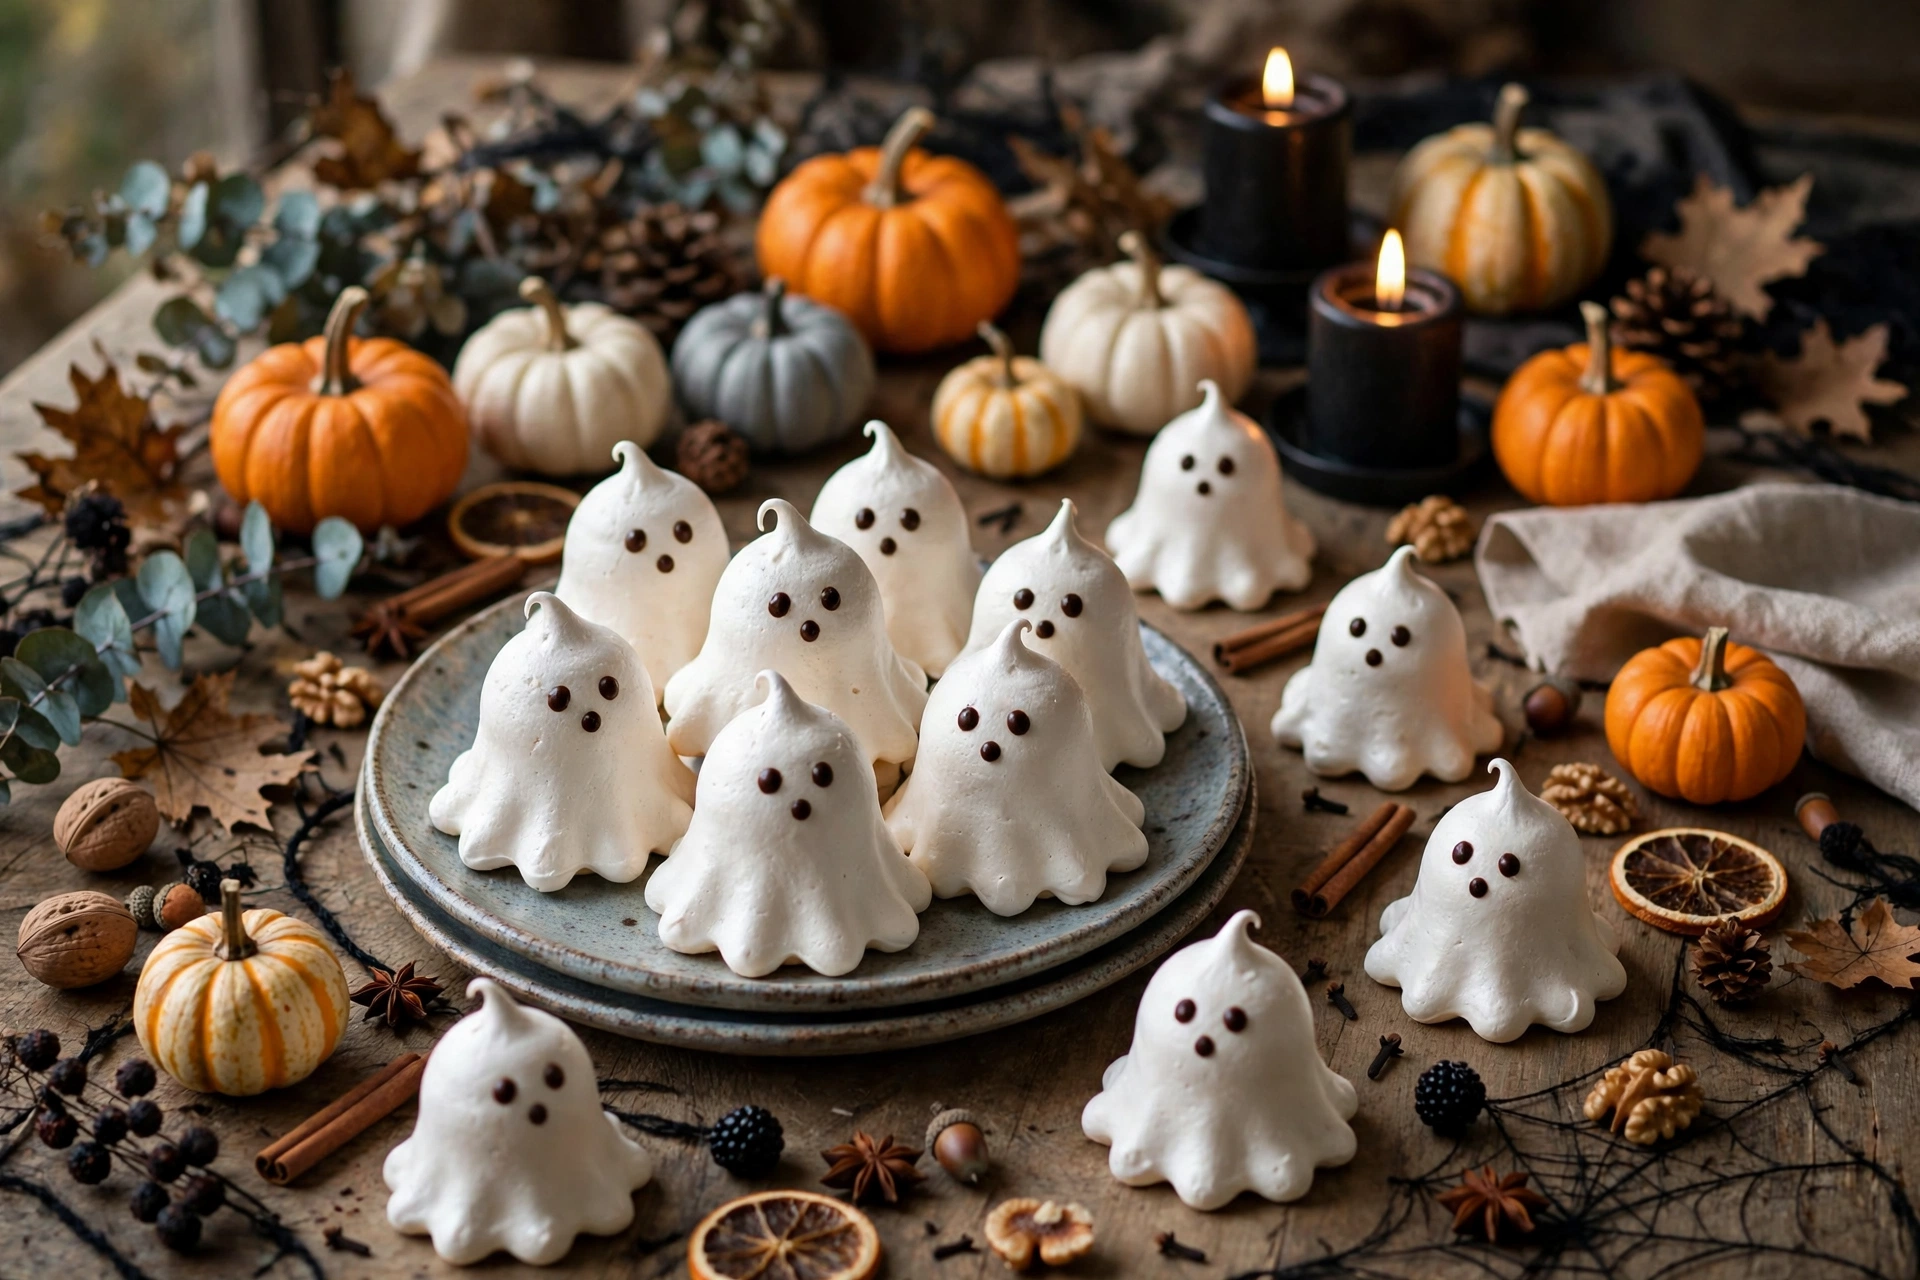
A platter of ghost meringue cookies is a centrepiece in itself: arrange them at varying heights on a dark slate or black cake stand and they practically glow against the dark surface. Tuck a few mini pumpkins, blackberries or sprigs of rosemary around the base for a styled look that takes thirty seconds to assemble and looks thoroughly professional in photographs.
For a party table, balance the sweetness with something savoury — a big bowl of homemade chex mix brings welcome salty crunch alongside the ethereal ghosts, and both can be made several days ahead so the day of the party stays relaxed. The ghosts also make charming toppers for mugs of hot chocolate: perch one on the rim and watch it slowly melt into spooky sweetness.
For trick-or-treaters, bag two or three ghosts per cellophane bag with an orange ribbon. Because the cookies are so light, a bag feels generous without being heavy, and parents appreciate a treat that is not pure chocolate. Add a handwritten tag and the bags double as place settings for a Halloween dinner party.

Troubleshooting: Why Didn’t My Meringues Work?
The whites will not whip. Fat is almost always the culprit — a speck of yolk, a greasy bowl or residue on the whisk. Start again with scrupulously clean equipment and carefully separated whites. Whites that are a day or two old actually whip more easily than farm-fresh ones, so very fresh eggs can also be stubborn; in that case, a little extra whipping time usually does the trick.
Sticky beads appear on the surface (weeping). This means undissolved sugar is leaking out of the foam, usually because the sugar was added too quickly or the meringue was under-whipped. Next time, add the sugar more slowly and whip until the mixture feels completely smooth between your fingertips. A slightly longer drying time in the oven can also help rescue mildly weepy ghosts.
The ghosts cracked. Cracking comes from heat shock: an oven running hotter than its dial claims, or cooling too quickly at the end. Verify the temperature with an oven thermometer, resist opening the door during the first hour, and always let the ghosts cool gradually in the turned-off oven with the door ajar.
The ghosts turned golden instead of white. The oven was too hot. Meringue should never truly bake — it dries. Drop the temperature to 90°C, check it with an oven thermometer, and consider propping the door open slightly for the whole drying time. Clear vanilla extract also helps keep the colour pristine, as standard extract carries a faint amber tint.
The centres are chewy or sticky. They simply need more drying time. Return them to a low oven for another thirty minutes, then cool fully in the turned-off oven with the door ajar. On humid days, expect the whole process to take longer — and store the finished ghosts with a food-safe silica sachet if the kitchen runs damp.
More Sweet Treats to Try
If these ghost meringue cookies have sparked a dessert-baking mood, there is plenty more to explore. The light jello dessert is another ethereally light option — a low-calorie berry treat that balances a Halloween candy haul nicely. For comfort baking, the easy peach cobbler delivers a juicy, golden pudding with minimal effort, while the banana nut muffins are a bakery-style batch bake that disappears just as fast as these ghosts.
The Science Behind a Perfect Meringue
A little food science makes every batch of ghost meringue cookies more reliable. An egg white is roughly 90 per cent water and 10 per cent protein, and whipping does something remarkable to those proteins: the mechanical action unfolds them, and they regroup around the air bubbles being beaten in, forming a stable foam. Sugar then dissolves into the water phase, thickening it and slowing drainage — which is why a properly sugared meringue holds its piped ghost shape instead of slumping into a puddle on the tray.
Acid — in this recipe, cream of tartar — helps by lowering the pH of the whites, which encourages the proteins to bond and makes the whole foam more stable. That stability matters because the ghosts spend ninety minutes in a barely warm oven; a weak foam would weep or collapse long before it sets. Salt plays a quieter supporting role, tightening the protein network slightly while making the sweetness taste brighter and more rounded. None of these effects demands laboratory precision — room-temperature whites, gradual sugar and patient whipping deliver them every time.
Also Read : Banana Nut Muffin Recipe: Bakery-Style, Moist and Fluffy in 40 Minutes
The low oven temperature is the other half of the equation. At 100°C the water in the foam evaporates slowly without browning the sugars — true baking temperatures would caramelise them and turn the ghosts golden. This slow dehydration creates the signature texture: a crisp, fragile shell giving way to an interior that is either delicately chewy or fully crisp, depending on drying time. The final rest in the turned-off oven lets the last residual moisture escape gradually instead of being trapped by a sudden chill, which is why skipping the cool-down so often leads to sticky centres.
Ghost Meringue Cookies for Special Diets
One of the quiet strengths of ghost meringue cookies is how many dietary needs they meet without any adaptation at all. The recipe contains no flour, so it is naturally gluten-free; no butter, milk or oil, so it is naturally dairy-free; and no nuts, soy or raising agents. For Halloween gatherings where guests bring a tangle of different requirements, a platter of ghosts is one sweet that almost everyone can enjoy.
There are a couple of caveats worth knowing. The cookies are not suitable for anyone with an egg allergy, and there is no reliable egg-free substitute that pipes and dries the same way — aquafaba meringues exist, but they are softer and trickier to pipe into tall ghosts. For vegan guests, it is kinder to offer a separate treat than to promise a vegan version of this one. Also check the candy eyes: most supermarket brands are gluten-free, but some contain traces of wheat starch, so read the packet if coeliac guests are expected.
For lower-sugar diets, be aware that sugar is structural here, not just sweetening — it stabilises the foam and creates the crisp texture. Reducing it significantly produces fragile, weepy ghosts. Sugar substitutes such as erythritol can be used in meringue with mixed results: they whip acceptably but tend to recrystallise and turn gritty as the ghosts cool. For this recipe, the classic version made with real caster sugar remains the most reliable.
Make-Ahead Timeline for a Stress-Free Halloween
Because ghost meringue cookies keep so well, they are ideal for spreading the work across the week before Halloween. A little planning turns them into the calmest part of party preparations rather than a last-minute scramble.
Three weeks ahead: Bake the ghosts on a dry day, cool them fully in the oven, and store undecorated in an airtight container with parchment between the layers. They will keep perfectly at room temperature.
One week ahead: Check the stored ghosts for any softening — a quick twenty minutes in a low oven restores full crispness. Buy or order candy eyes, cellophane bags and ribbon if the ghosts are destined for treat bags or gifts.
Two days ahead: Decorate the ghosts. Attach candy eyes or draw faces, then leave the finished ghosts uncovered for an hour so any icing sets completely before they are packed away again.
On the day: Arrange the ghosts on platters, fill treat bags or set out the dessert table. Because the ghosts are already made, the only job left is the fun part — styling the display and watching them disappear.
Choosing Candy Eyes and Edible Decorations
Candy eyes come in more varieties than most shoppers expect, and the choice affects both the look and the handling of the finished ghosts. Standard small round eyes — about 5 mm across — suit the 6–7 cm ghosts in this recipe; larger eyes overwhelm the faces and look cartoonish in the wrong way. Look for eyes with a firm, dry candy shell rather than soft icing-style eyes, which can bleed colour onto the white meringue in humid conditions.
Black icing pens and food-safe markers are the most versatile alternative. They allow oval eyes, sleepy half-moons, tiny open mouths and even little fangs, and they add no moisture at all — an advantage for long storage. Let the ink dry for at least ten minutes before the ghosts touch each other. Edible lustre dust or a whisper of black cocoa powder, applied with a dry brush, can shade the edges of the ghosts for a vintage Halloween-card look.
Whatever decoration is chosen, apply it only to fully cooled ghosts. Warm meringue softens on contact and the eyes will slide; worse, the trapped warmth creates condensation inside storage containers later. Patience at this stage a full cool-down plus the oven rest — is what separates professional-looking ghosts from disappointing ones.
Read Must : Simple Banana Bread Recipe (Moist, Tender & One Bowl)
Packaging and Gifting Ideas
Ghost meringue cookies make wonderful edible gifts because they are light, keep well and look impressive with minimal wrapping effort. The key principle is rigidity: the ghosts are crisp and therefore fragile, so every layer of packaging should protect them from crushing rather than merely looking pretty.
For individual gifts, stand two or three ghosts upright in a small cellophane bag, tie with orange or black ribbon, and add a handwritten tag. For larger gifts, layer the ghosts in a rigid box or tin with crinkled tissue paper between the layers — the tissue cushions the swirls far better than flat parchment. A glass jar, as pictured above, makes a beautiful teacher or host gift: the ghosts are visible through the glass and the jar itself becomes part of the present.
If the ghosts are being posted, double-box them: a rigid inner box with plenty of tissue, inside a slightly larger outer box with cushioning. Include a note advising the recipient to keep them airtight at room temperature. Posted ghosts survive the journey surprisingly well — their light weight means they suffer less impact than heavier biscuits.
Ghost Meringue Cookies
Ingredients
Equipment
Method
- Heat the oven to 100°C (80°C fan / 200°F). Line two large baking trays with parchment paper and position oven racks in the upper and lower thirds.
- Wipe the mixing bowl, whisk and spatula with white vinegar or lemon juice on a paper towel, then dry thoroughly so everything is completely grease-free.
- Add the room-temperature egg whites, salt and cream of tartar to the bowl. Whip on medium speed until foamy and soft peaks begin to form.
- With the mixer running on medium-high, add the caster sugar one tablespoon at a time, waiting about 20 seconds between additions, until it is all incorporated.
- Increase to high speed and whip for 3 to 5 minutes until the meringue is very thick, glossy and holds stiff peaks. Whisk in the vanilla extract for just 10 seconds.
- Fit a large piping bag with a large round tip (1A or 2A). Fill with meringue and pipe 24 ghost shapes, about 6 cm tall, onto the lined trays, spacing them 3 cm apart.
- Bake for 90 minutes, rotating the trays halfway through, until the ghosts feel dry to the touch and lift easily off the paper. Turn the oven off and leave the ghosts inside to cool completely for 1 to 2 hours.
- Once completely cool, attach two candy eyes to each ghost with the tiniest dot of melted white chocolate or royal icing. Leave to set before storing.
Notes
Can I make ghost meringue cookies ahead of time?
Yes — bake the ghosts up to three weeks before Halloween and store them undecorated in an airtight container at room temperature. Decorate one or two days before serving so the candy eyes stay firmly in place.
Why are my meringue cookies sticky or chewy instead of crisp?
They need more drying time, or the air is humid. Return them to a 100°C oven for another 30 minutes, then cool fully in the switched-off oven. Bake on dry days whenever possible.
Can I use carton egg whites?
Carton egg whites can work but often whip to a lower volume than fresh whites. For tall, stable ghosts, fresh large eggs separated by hand are more reliable — just take care to keep every trace of yolk out of the whites.
How do I keep my ghost meringue cookies perfectly white?
Bake at 100°C (80°C fan / 200°F) and never higher — meringue dries rather than bakes. Use clear vanilla extract rather than dark, and avoid opening the oven during the first hour.
What piping tip should I use?
A large round tip such as a 1A or 2A, about 1.25 cm wide, gives the classic rounded ghost body. Keep the bag vertical and squeeze steadily without moving the bag to build the shape.
Can I flavour the meringue?
Yes — add a quarter teaspoon of peppermint extract with the vanilla for a cool mint twist, or fold half a teaspoon of ground cinnamon and a pinch of nutmeg through the finished meringue for spiced autumn ghosts. Keep additions small so the foam stays stable.
How long do ghost meringue cookies last?
Stored in an airtight container at room temperature, they keep their crispness for up to three weeks. Never refrigerate them — the moisture makes them sticky.
Can I freeze meringue cookies?
Freezing is not recommended. Condensation forms on the surface as they thaw, turning the crisp ghosts soft and sticky. Their long room-temperature shelf life makes freezing unnecessary.
Why did my meringues crack?
Cracking comes from heat shock: an oven running hotter than its dial claims, or cooling too quickly. Check the temperature with an oven thermometer and let the ghosts cool gradually in the switched-off oven.
Are ghost meringue cookies gluten-free?
Yes — the recipe is naturally gluten-free and dairy-free, made from egg whites, sugar, cream of tartar, vanilla and salt. Always check the labels on candy eyes and any chocolate used for decorating, as some brands contain gluten or milk.
Can I make these without cream of tartar?
Yes — cream of tartar stabilises the foam but is not essential. Substitute half a teaspoon of white vinegar or lemon juice, or simply whip the whites a little longer. The ghosts will still pipe and bake up well.

Hi, I’m Angela. I cook the way busy people actually cook — simple, tasty food with ingredients you already have. On CookBookBite I share easy recipes, honest kitchen tips, and dishes my family asks for again and again.
Pingback: Crispy Potato Skins Recipe- 12 Better Than Restaurant cooks
Pingback: Spiderweb Cupcakes: 12 Easy, Spooky Halloween Treats